When you get a branded machine, usually it comes with the recovery option. When something happens, you can recover your Windows operating system bact to the initial state. All your Windows update, installed software will be lost. My laptop was Windows 7 before, after upgraded to Windows 10, I don’t want to recover to Windows 7 state if something happens. So I removed the old recovery option, and created one based on my latest Windows 10.0.19042.
Here are the high level steps.
- Remove the old Windows Recovery option
- Create Windows PE bootable USB
- Use Windows PE bootable USB to create the recovery image
- Create same version installation media
- Create new recovery partition with the new recovery image
- Add recovery option to Windows boot menu
Let’s drill down to detail steps.
Step 1. Remove the old Windows Recovery option
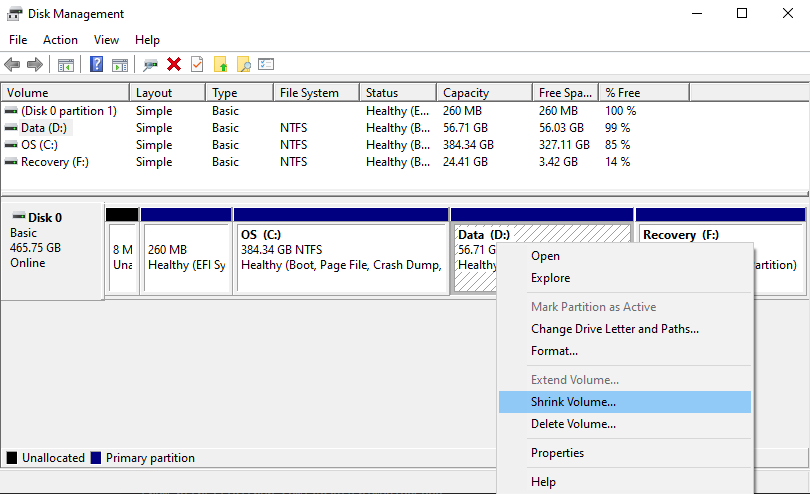
- Use Disk Management tool to look at partitions. Find out which one you are going to remove.
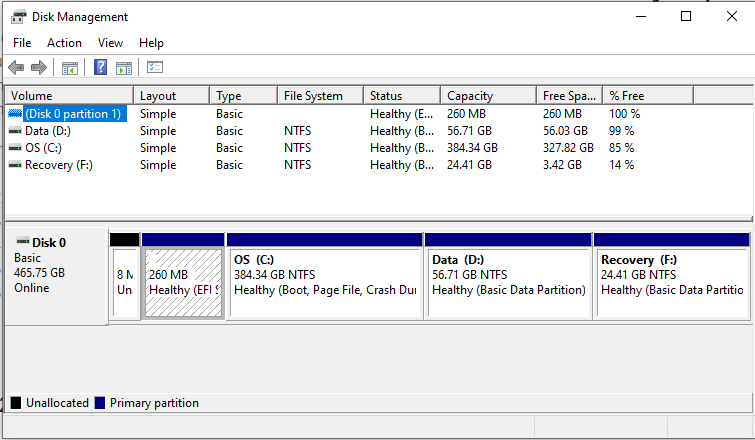
- Use diskpart tool to remove the partition
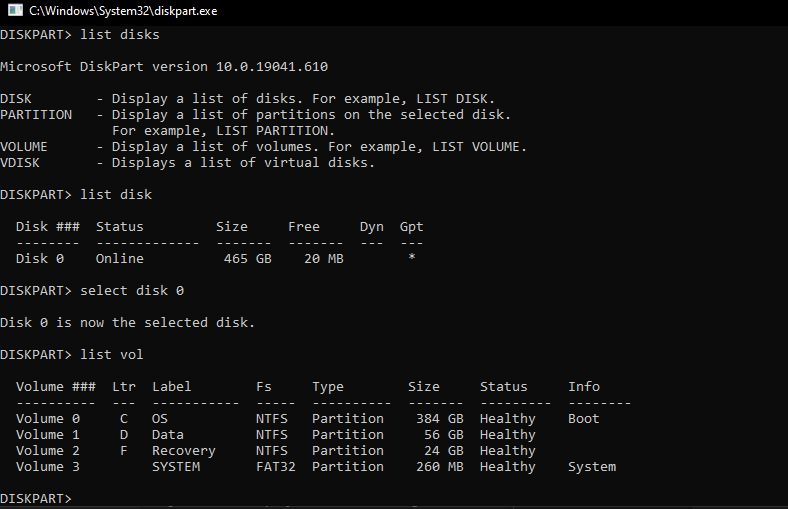
Commands as below.
## List disks

DISKPART> list disk

  Disk ###  Status     Size     Free     Dyn  Gpt
  --------  ---------  -------  -------  ---  ---
  Disk 0    Online      931 GB      0 B
  Disk 1    Online     1863 GB      0 B
  Disk 2    Online     4092 MB      0 B
  Disk 3    No Media       0 B      0 B
  Disk 4    No Media       0 B      0 B
  Disk 5    Online      232 GB   127 MB       *

DISKPART>

## Select disk contains the partition you want to delete

DISKPART> select disk 5

Disk 5 is now the selected disk.

DISKPART>

## List partitions

DISKPART> list partition

  Partition ###  Type    Size     Offset
  -------------  ------  -------  -------
  Partition 1    System   200 MB     20KB
  Partition 2    Unknown  232 GB    200MB
  Partition 3    OEM      127 MB    232GB

DISKPART>

## Select the partition want to delete

DISKPART> select partition 3

Partition 3 is now the selected partition.

## Delete the partition

DISKPART> delete partition

DiskPart successfully deleted the selected partition

## Delete another partition is protected

DISPART> select partition 1

Partition 1 is now the selected partition.

DISKPART> delete partition

Virtual Disk Service error:
Cannot delete a protected partition without the force protection parameter set.

DISKPART>

## Delete the partition is protected

DISKPART> delete partition override

DiskPart successfully deleted the selected partition.

DISKPART>
Step 2. Create Windows PE bootable USB
- Download latest Windows 10 ADK (Assessment and Deployment Kit), Windows Insider Preview ADK and install them
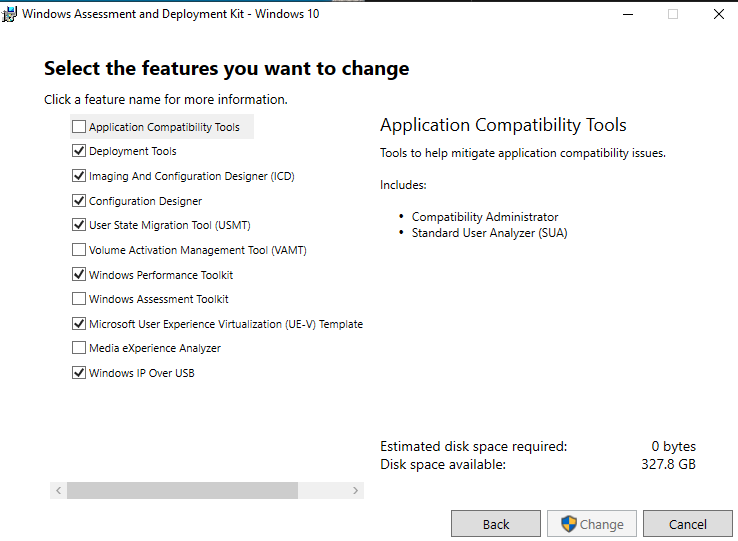
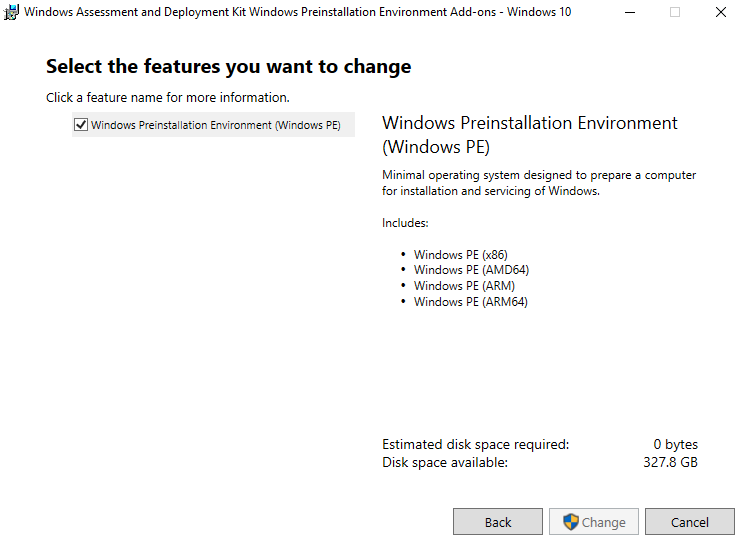
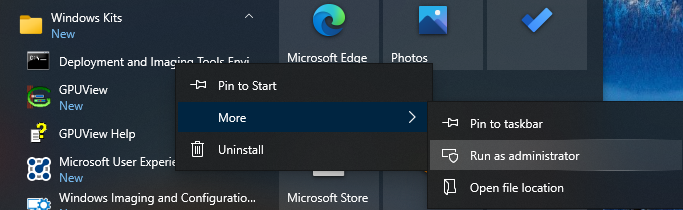
- After installed, open Deployment and Imaging Tools interface elevated by right clicking it in Start > W > Windows Kits and select More > Run as administrator:
- Create PE file
C:\Program Files (x86)\Windows Kits\10\Assessment and Deployment Kit\Deployment Tools>cd \

C:\>copype amd64 D:\WPEx64- Prepare USB drive for PE using below commands
diskpart
list disk
select <disk number>
clean
create partition primary size=2000
format quick fs=fat32 label="Windows PE"
assign letter=P
active
create partition primary
format fs=ntfs quick label="Other files"
assign letter=O
list vol- Create PE in USB drive using below command. You will be warned that the USB flash drive will be formatted
C:\>MakeWinPEMedia /UFD D:\WPEx64 P:Step 3. Use Windows PE bootable USB to create the recovery image
-
Use the PE USB just created to boot up the machine
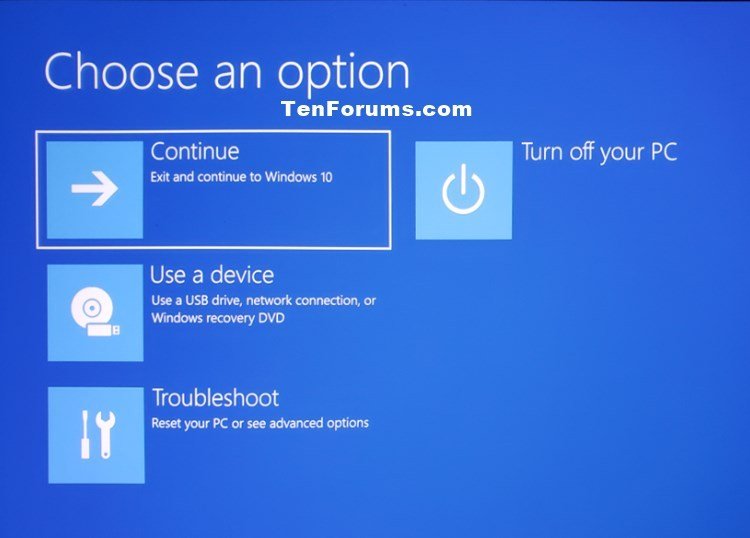
From Setting -> Updates & Security -> Recovery, under Advanced startup, click Restart now. Select Use a device and choose your USB device
-
After boot using PE USB, create custom WIM file with DISM using command line
Below command capture C: drive and write the WIM file to D:\install.wim
X:\>dism /capture-image /imagefile:D:\install.wim /capturedir:C:\ /name:"Recovery" /description:"My Recovery Image" /compress:maximum
Deployment Image Servicing and Management tool
Version: 10.0.19041

Saving imagefile
[=========================100.0%==========================]
The operation completed successfully.

X:\>
Step 4. Create same version installation media
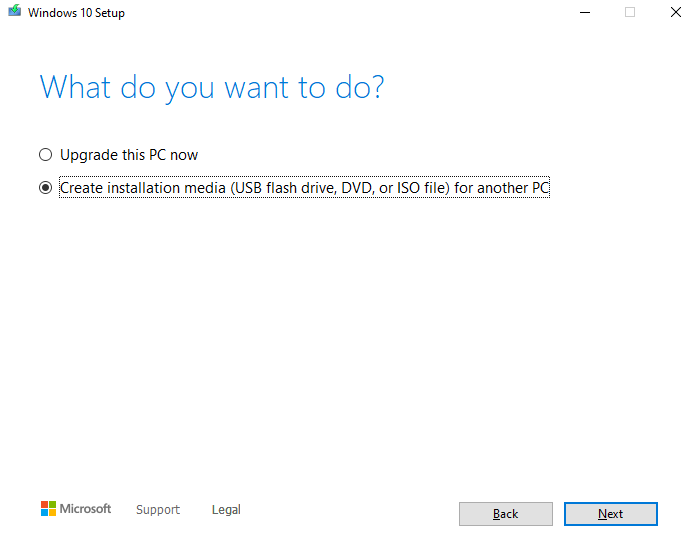
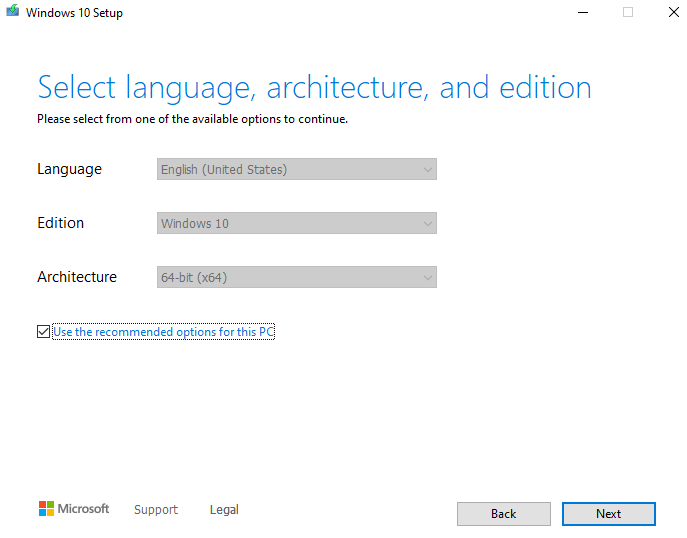
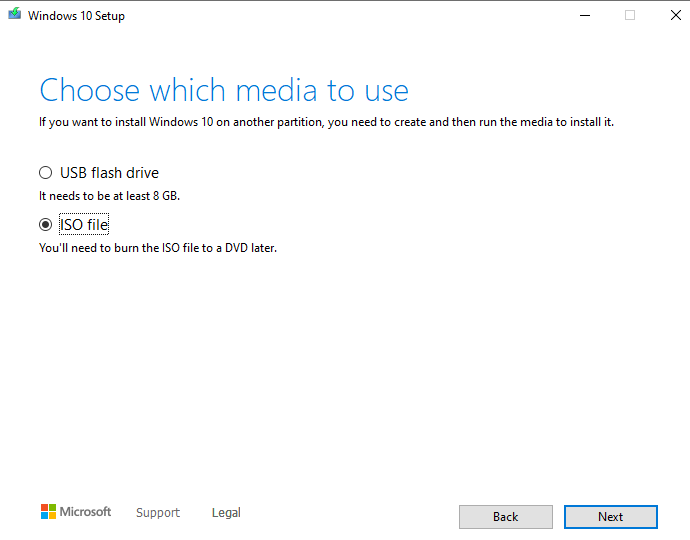
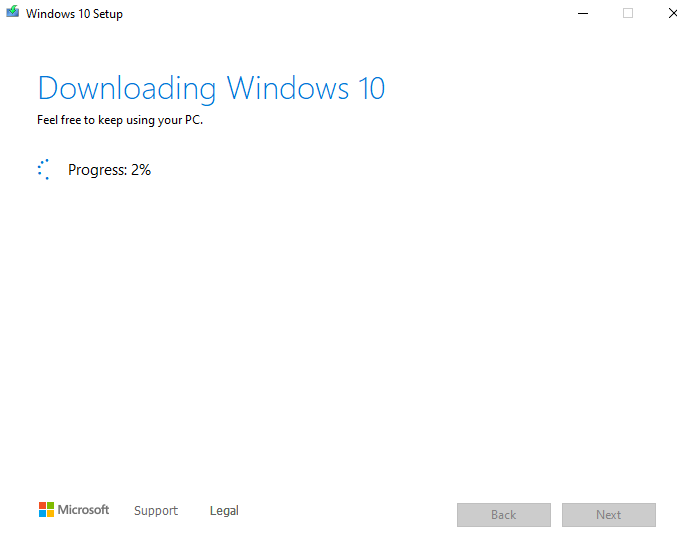
- Download installation media tool from Microsoft update site
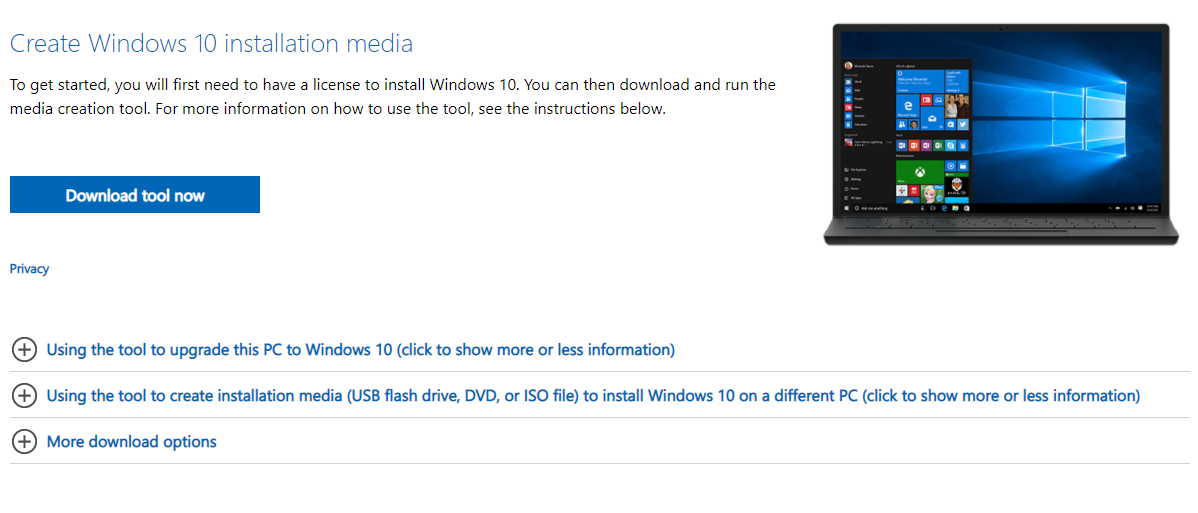
- Run the tool to create the ISO image
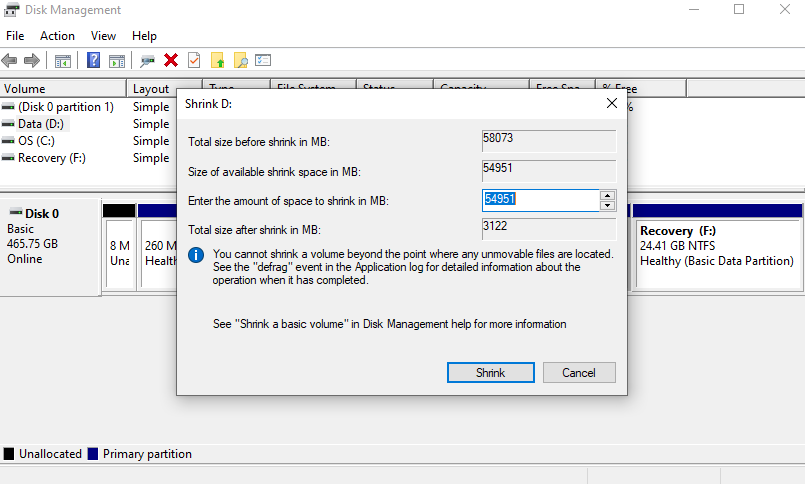
Step 5. Create new recovery partition with the new recovery image
-
Shrink the existing partition to make space for the new recovery partition
The new recovery partition’s size should be the size of the custom install.wim file plus 1GB
- Create the simple volume using the new space after shrink, assign dirve letter
- Mount the ISO file created in step 4, copy everything from the mounted ISO drive to the recovery volume just created
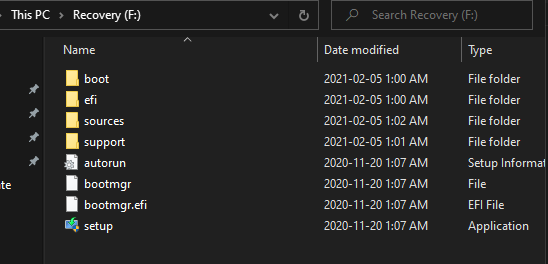
- Open sources folder, replace the install.esd or install.wim with the WIM file create in step 3
- The recovery partition considered done
Step 6. Add recovery option to Windows boot menu
- Use notepad to create a recovery.bat file contains below code
@ECHO OFF
TITLE Add Recovery to Windows boot menu
:SETLETTER
CLS
ECHO.
ECHO             ###################################################
ECHO             #                                                 #
ECHO             #   This batch file creates recovery environment  #
ECHO             #        adding it to Windows boot menu.          #
ECHO             #                                                 #
ECHO             ###################################################
ECHO.
SET /P DRIVELETTER= ^-- Please enter drive letter for your custom recovery partition (without colon):
IF NOT EXIST %DRIVELETTER%:\sources\boot.wim ECHO. & ECHO No valid Windows image found on given partition %DRIVELETTER% &ECHO. & PAUSE & GOTO :SETLETTER
ECHO.
bcdedit /create {ramdiskoptions} /d "Ramdisk"
bcdedit /set {ramdiskoptions} ramdisksdidevice partition=%DRIVELETTER%:
bcdedit /set {ramdiskoptions} ramdisksdipath \boot\boot.sdi
for /f "tokens=2 delims={}" %%i in ('bcdedit.exe /create /d "Recovery" /application OSLOADER') do (set guid={%%i})
bcdedit /set %guid% device ramdisk=[%DRIVELETTER%:]\sources\boot.wim,{ramdiskoptions}
bcdedit /set %guid% path \windows\system32\winload.efi
bcdedit /set %guid% osdevice ramdisk=[%DRIVELETTER%:]\sources\boot.wim,{ramdiskoptions}
bcdedit /set %guid% systemroot \windows
bcdedit /set %guid% winpe yes
bcdedit /set %guid% detecthal yes
bcdedit /displayorder %guid% /addlast
pause
- Execute the batch file to add the recovery option to boot menu
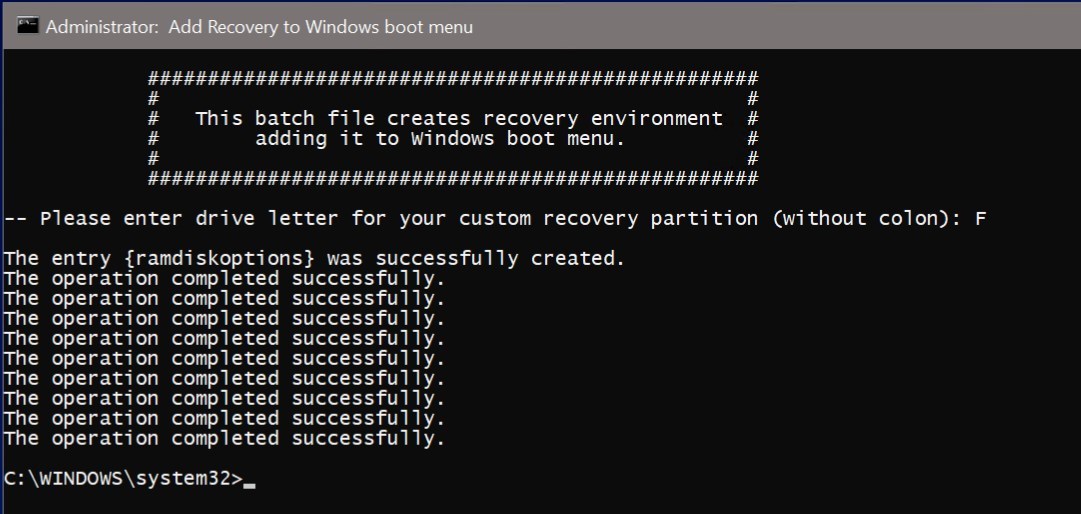
That’s it! You have now Recovery option in boot menu. Selecting it, Windows Setup is run and you can clean install Windows 10. Your custom image restoring it to the exact state it was when custom image was created. Everything will be there, from your custom desktop theme to user accounts and software already installed.
